Last year I got back into making music after a very long break. This was primarily prompted by my YouTube videos, since finding background music for those videos was much more difficult than I had originally thought. Music copyright is a mess and only royalty free music could be used for YouTube without risking copyright strikes. This limitation restricted my choices a lot and it really wasn’t easy to find music I liked. I tried a licensing service for a while, but quickly I also ran out of music I enjoyed on there, since most of those kind of tracks tend to be rather boring elevator music. After all, that kind of music has to fit to a lot of content and I doubt many musicians really want to hear their next hit in a toothpaste commercial! It was just a real struggle to find more than a handful of tracks that I liked and also fit together. In the end I concluded that making my own music was the best choice to sidestep the whole conundrum.
I pulled out my old midi keyboards and started on a journey down a new rabbit hole. Although I had spent quite a few years making music when I was younger, it’s a whole new world out there full of amazing advances. I hadn’t really played much in about 15 years at that point and a lot happened in the meantime. Audio interfaces have become super cheap and have very low latency now, DAWs (Digital Audio Workstations) can warp sounds with amazing quality and all other audio gear has had amazing price reductions too. There were even some new instruments invented in my absence, like for example the amazing Bass Ukulele!
Unsurprisingly one of my first purchases was a new guitar though since this had been the instrument I had played the longest. I was never a great player in a “shredding” sense, but I spent hours and hours just playing drones and trying to make the weirdest noises with it. Back in the day I made mostly dark ambient and weird guitar noises played a big role in that. The guitar I used back then was a pretty terrible cheap Strat copy, so I wasn’t really too keen on getting a really cheap guitar again. I planned to save a bit and get a nicer guitar this time, but then I stumbled upon a demo of a very cheap little short scale guitar, a Squier Bullet Mustang. I have small hands so the scale length seemed ideal and on top of that it just sounded so great in the demo, that I pretty much bought it the very next day. This post and also my last video tell the story of how I modded this guitar.
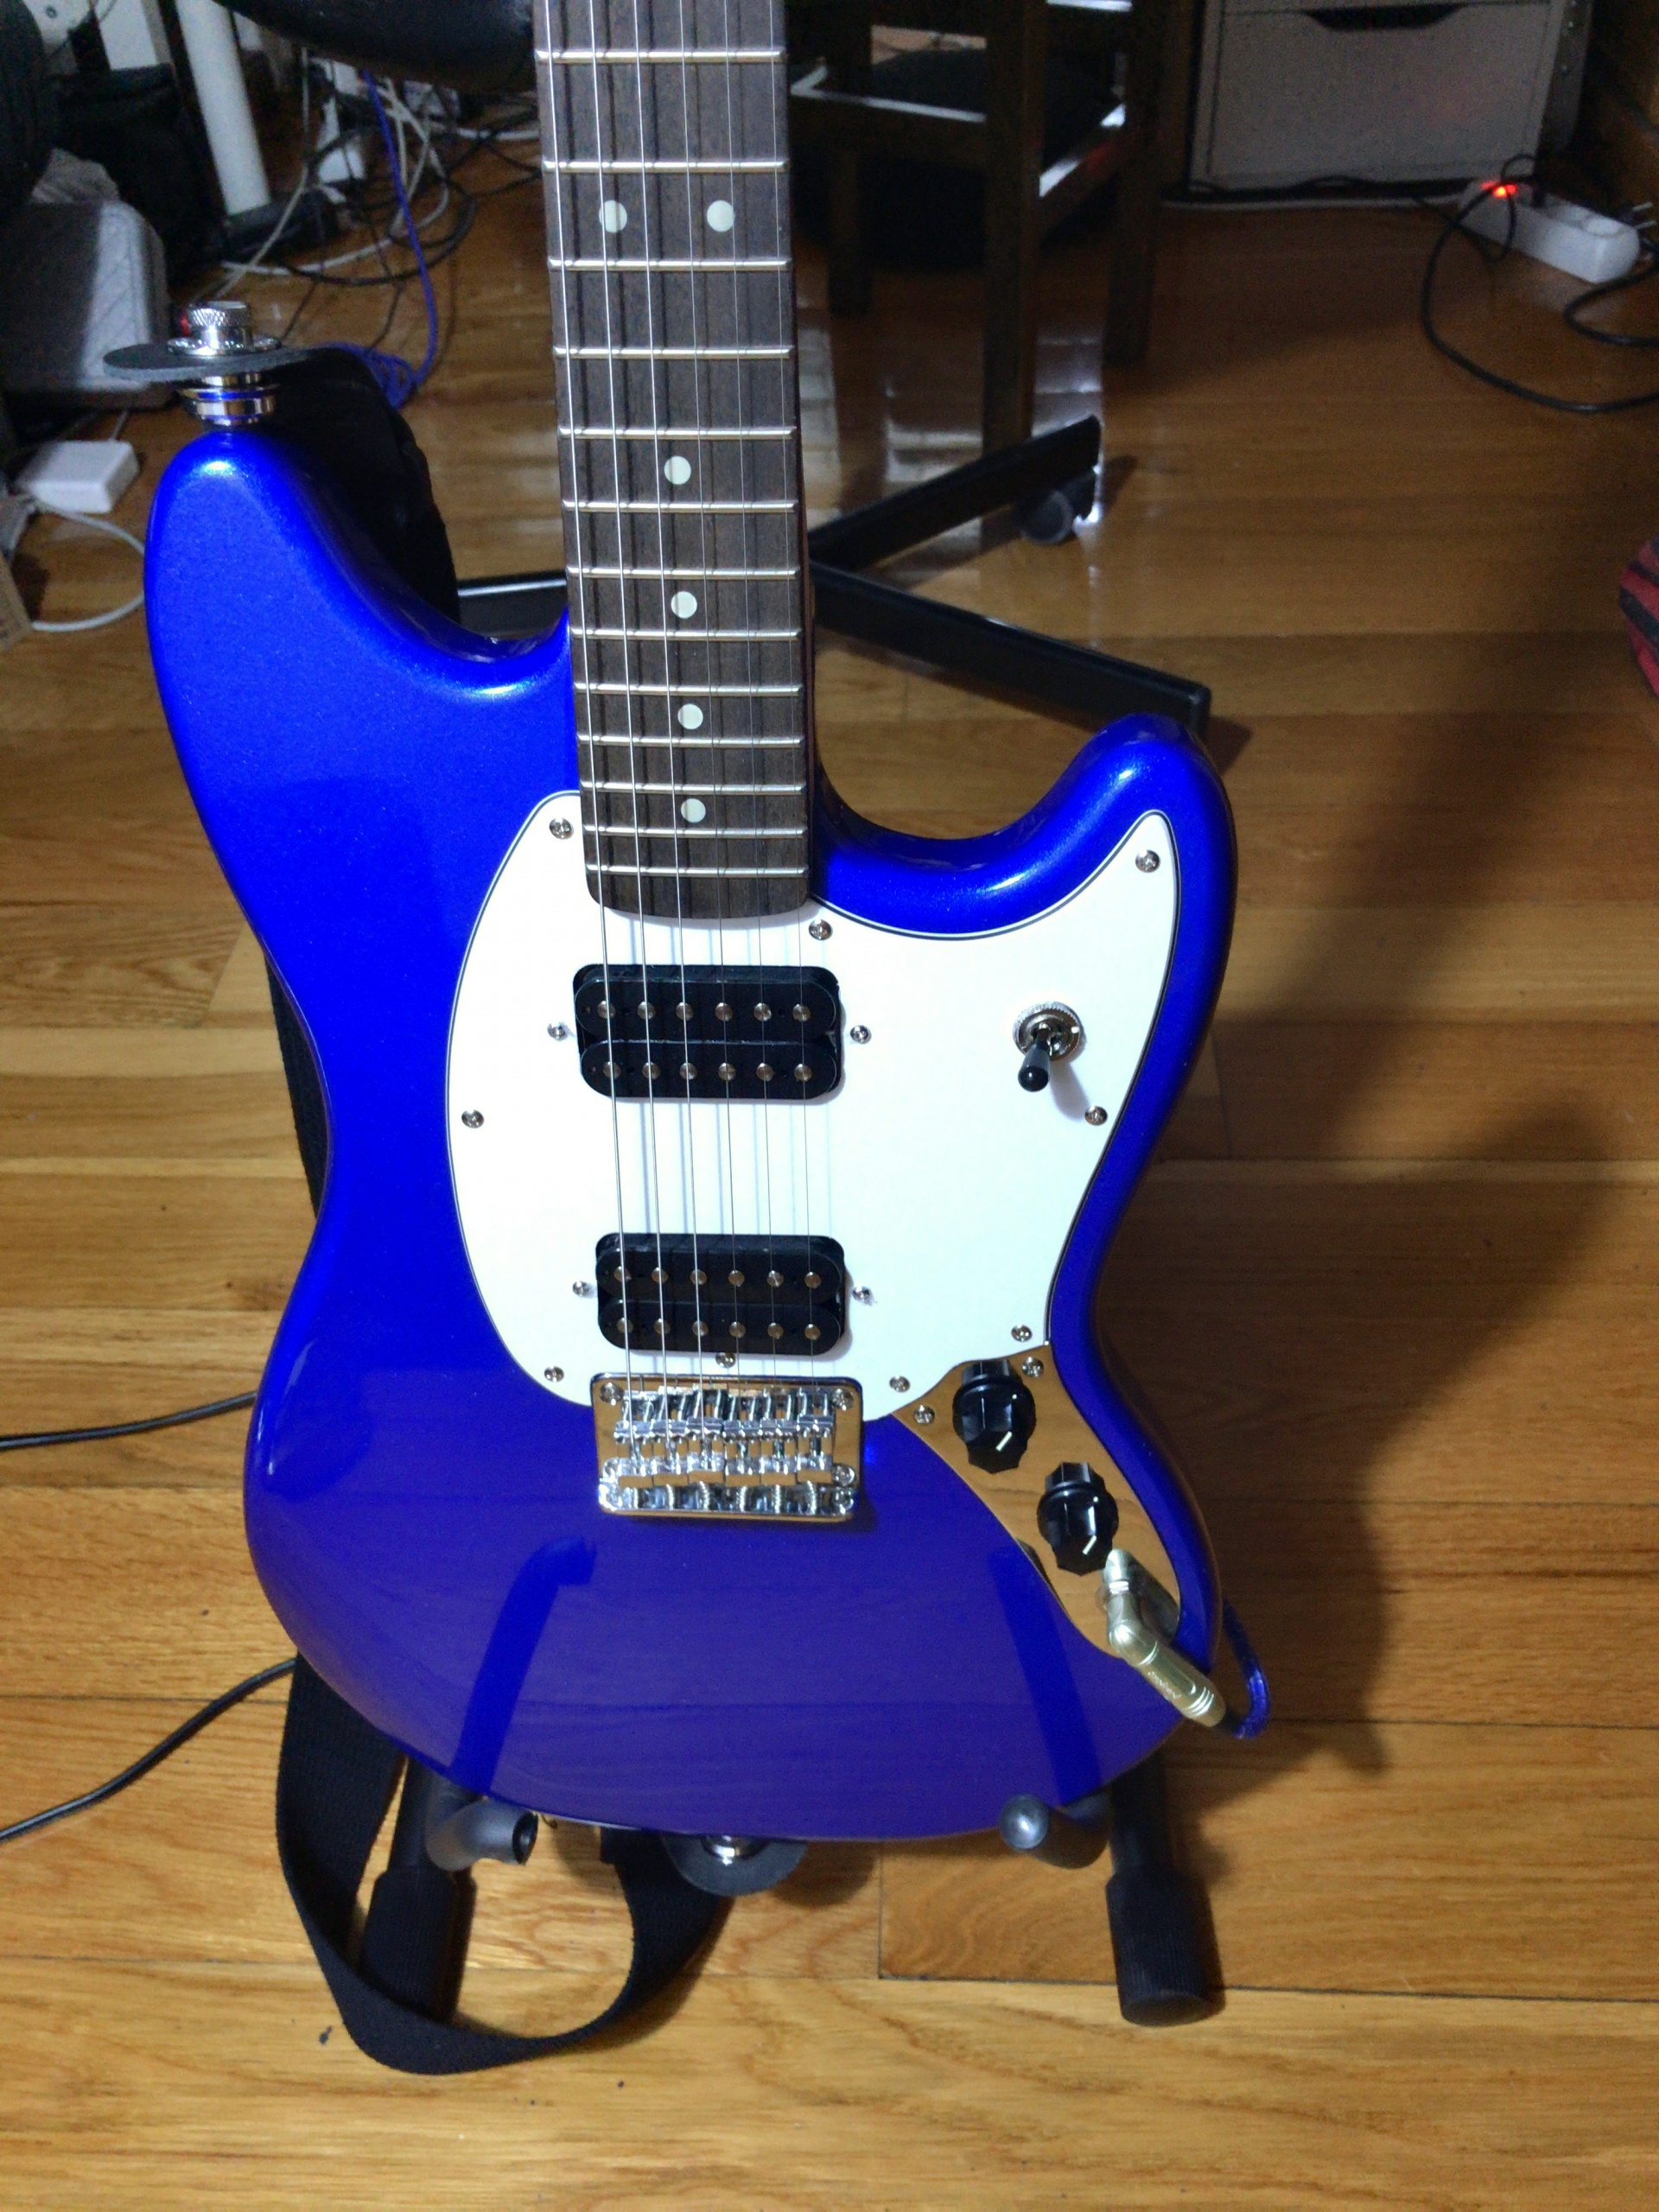
Squier Bullet Mustang – body before any mods
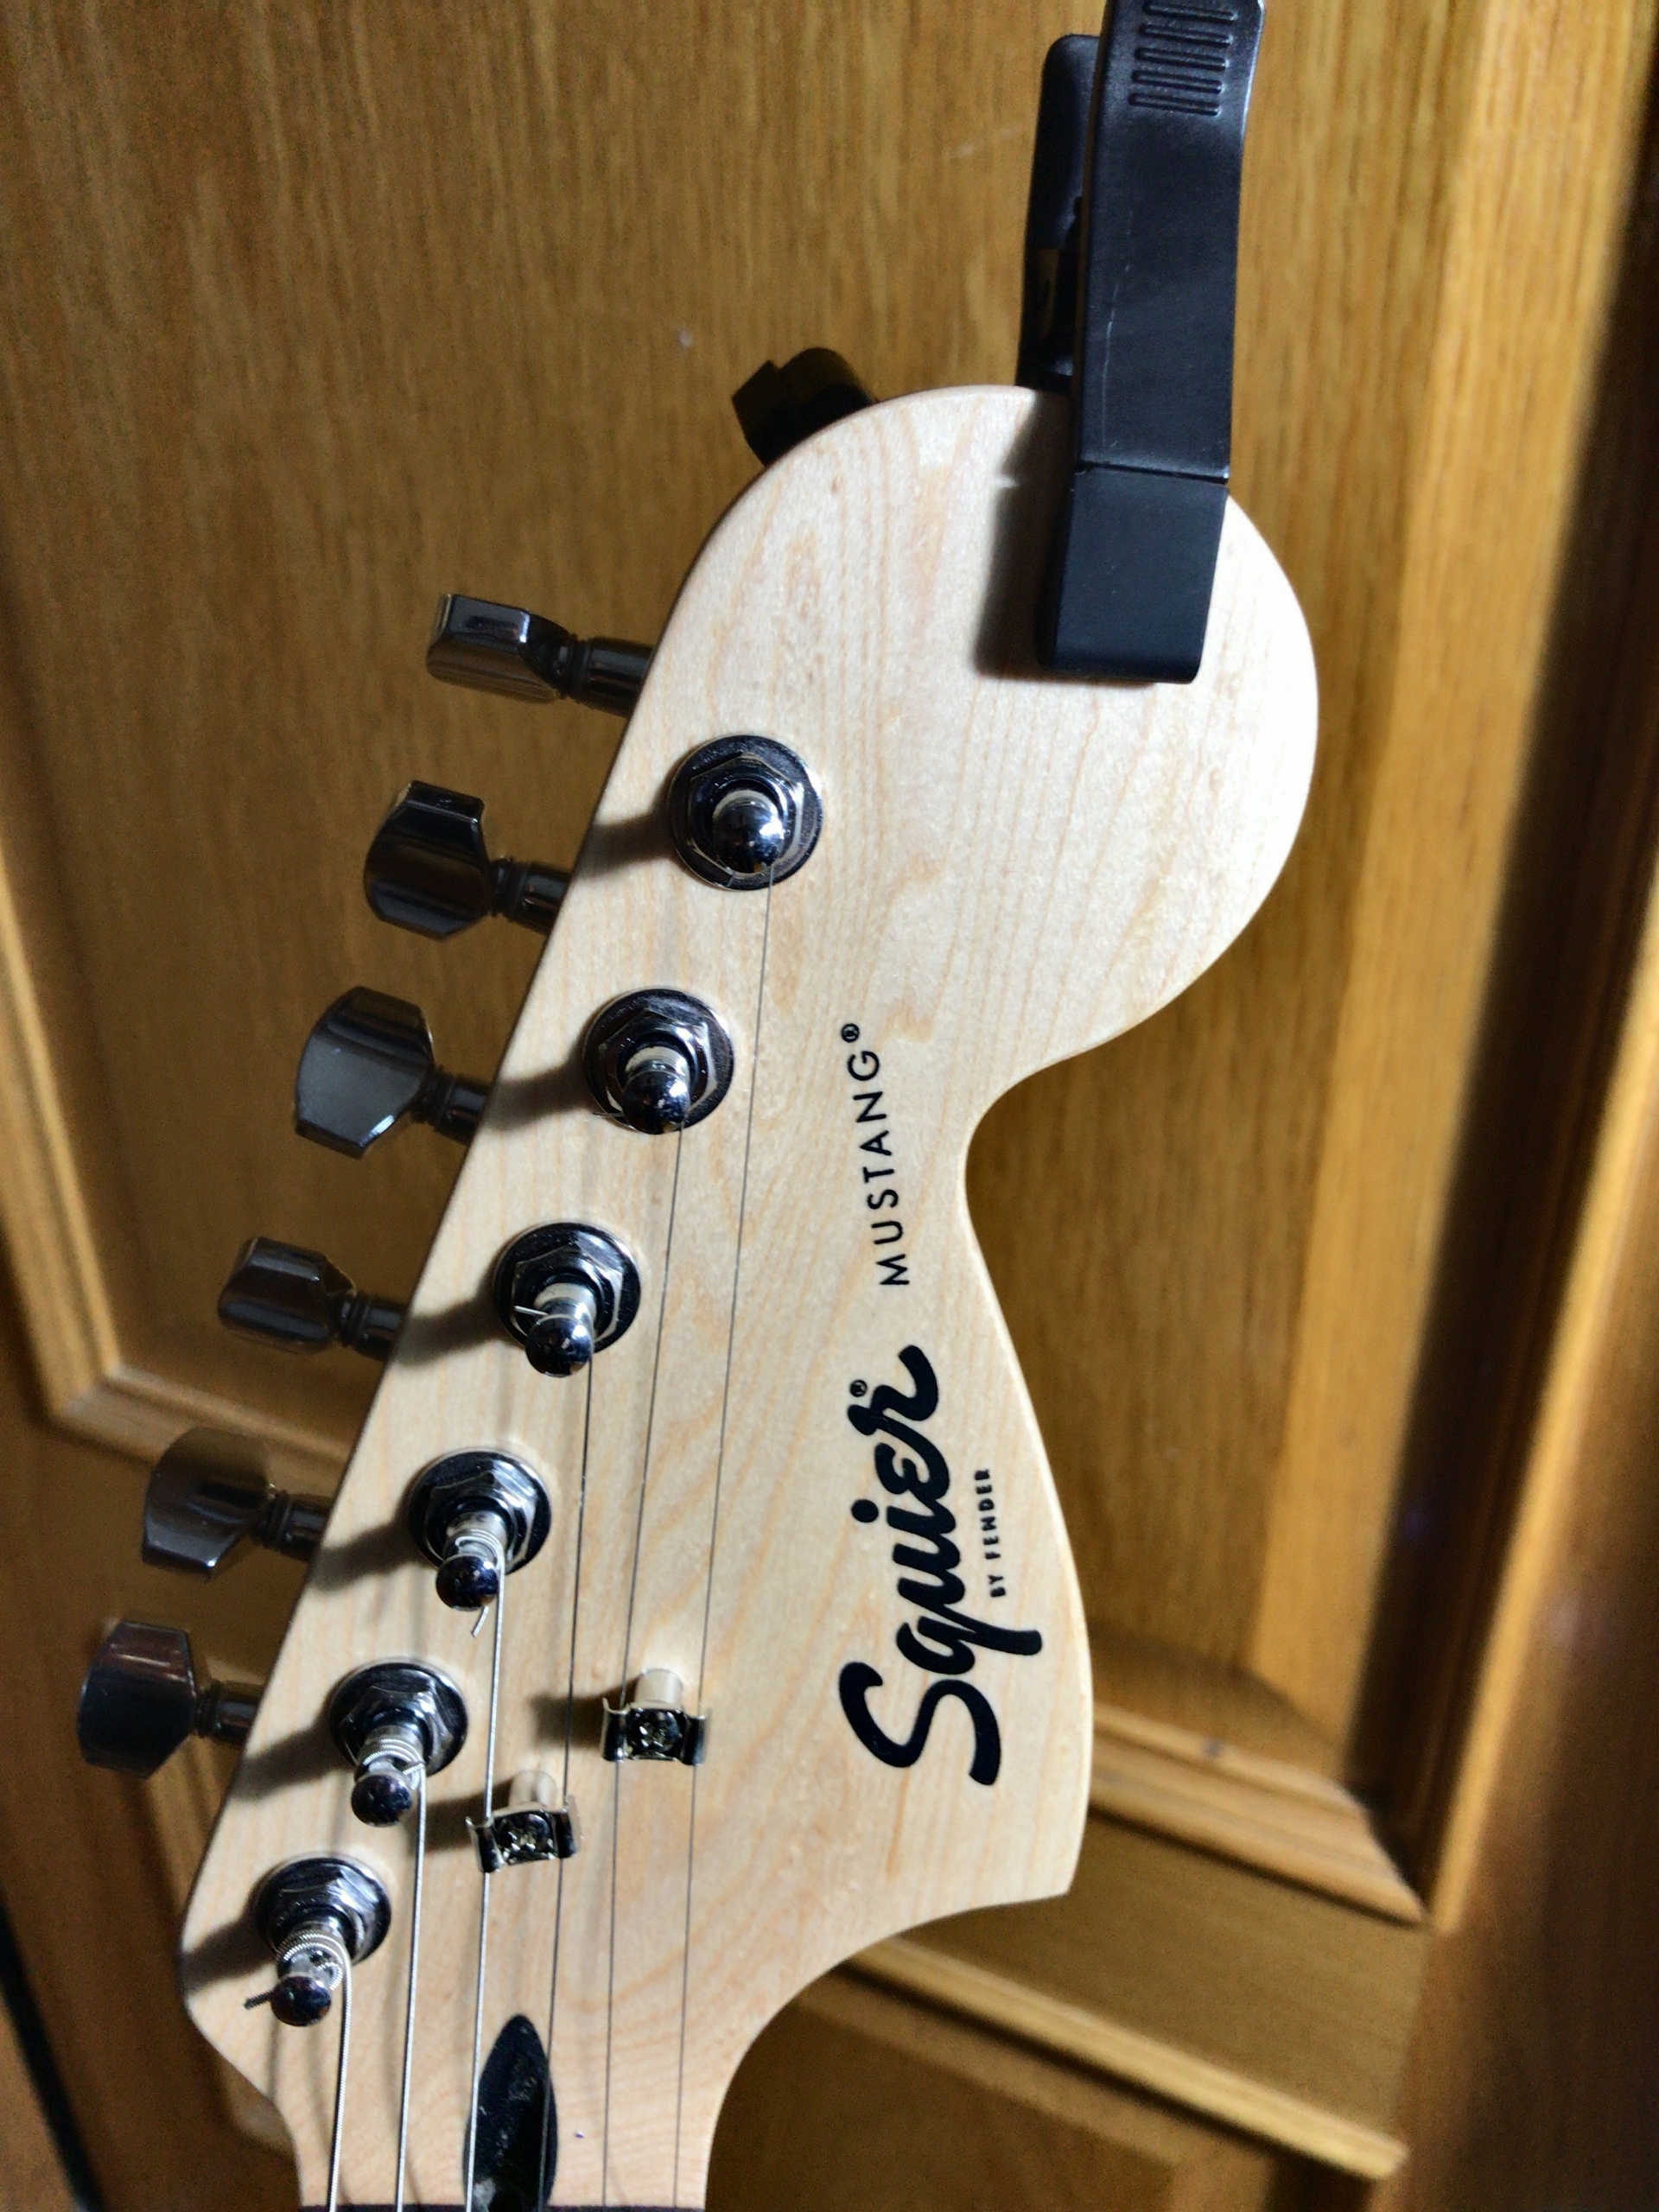
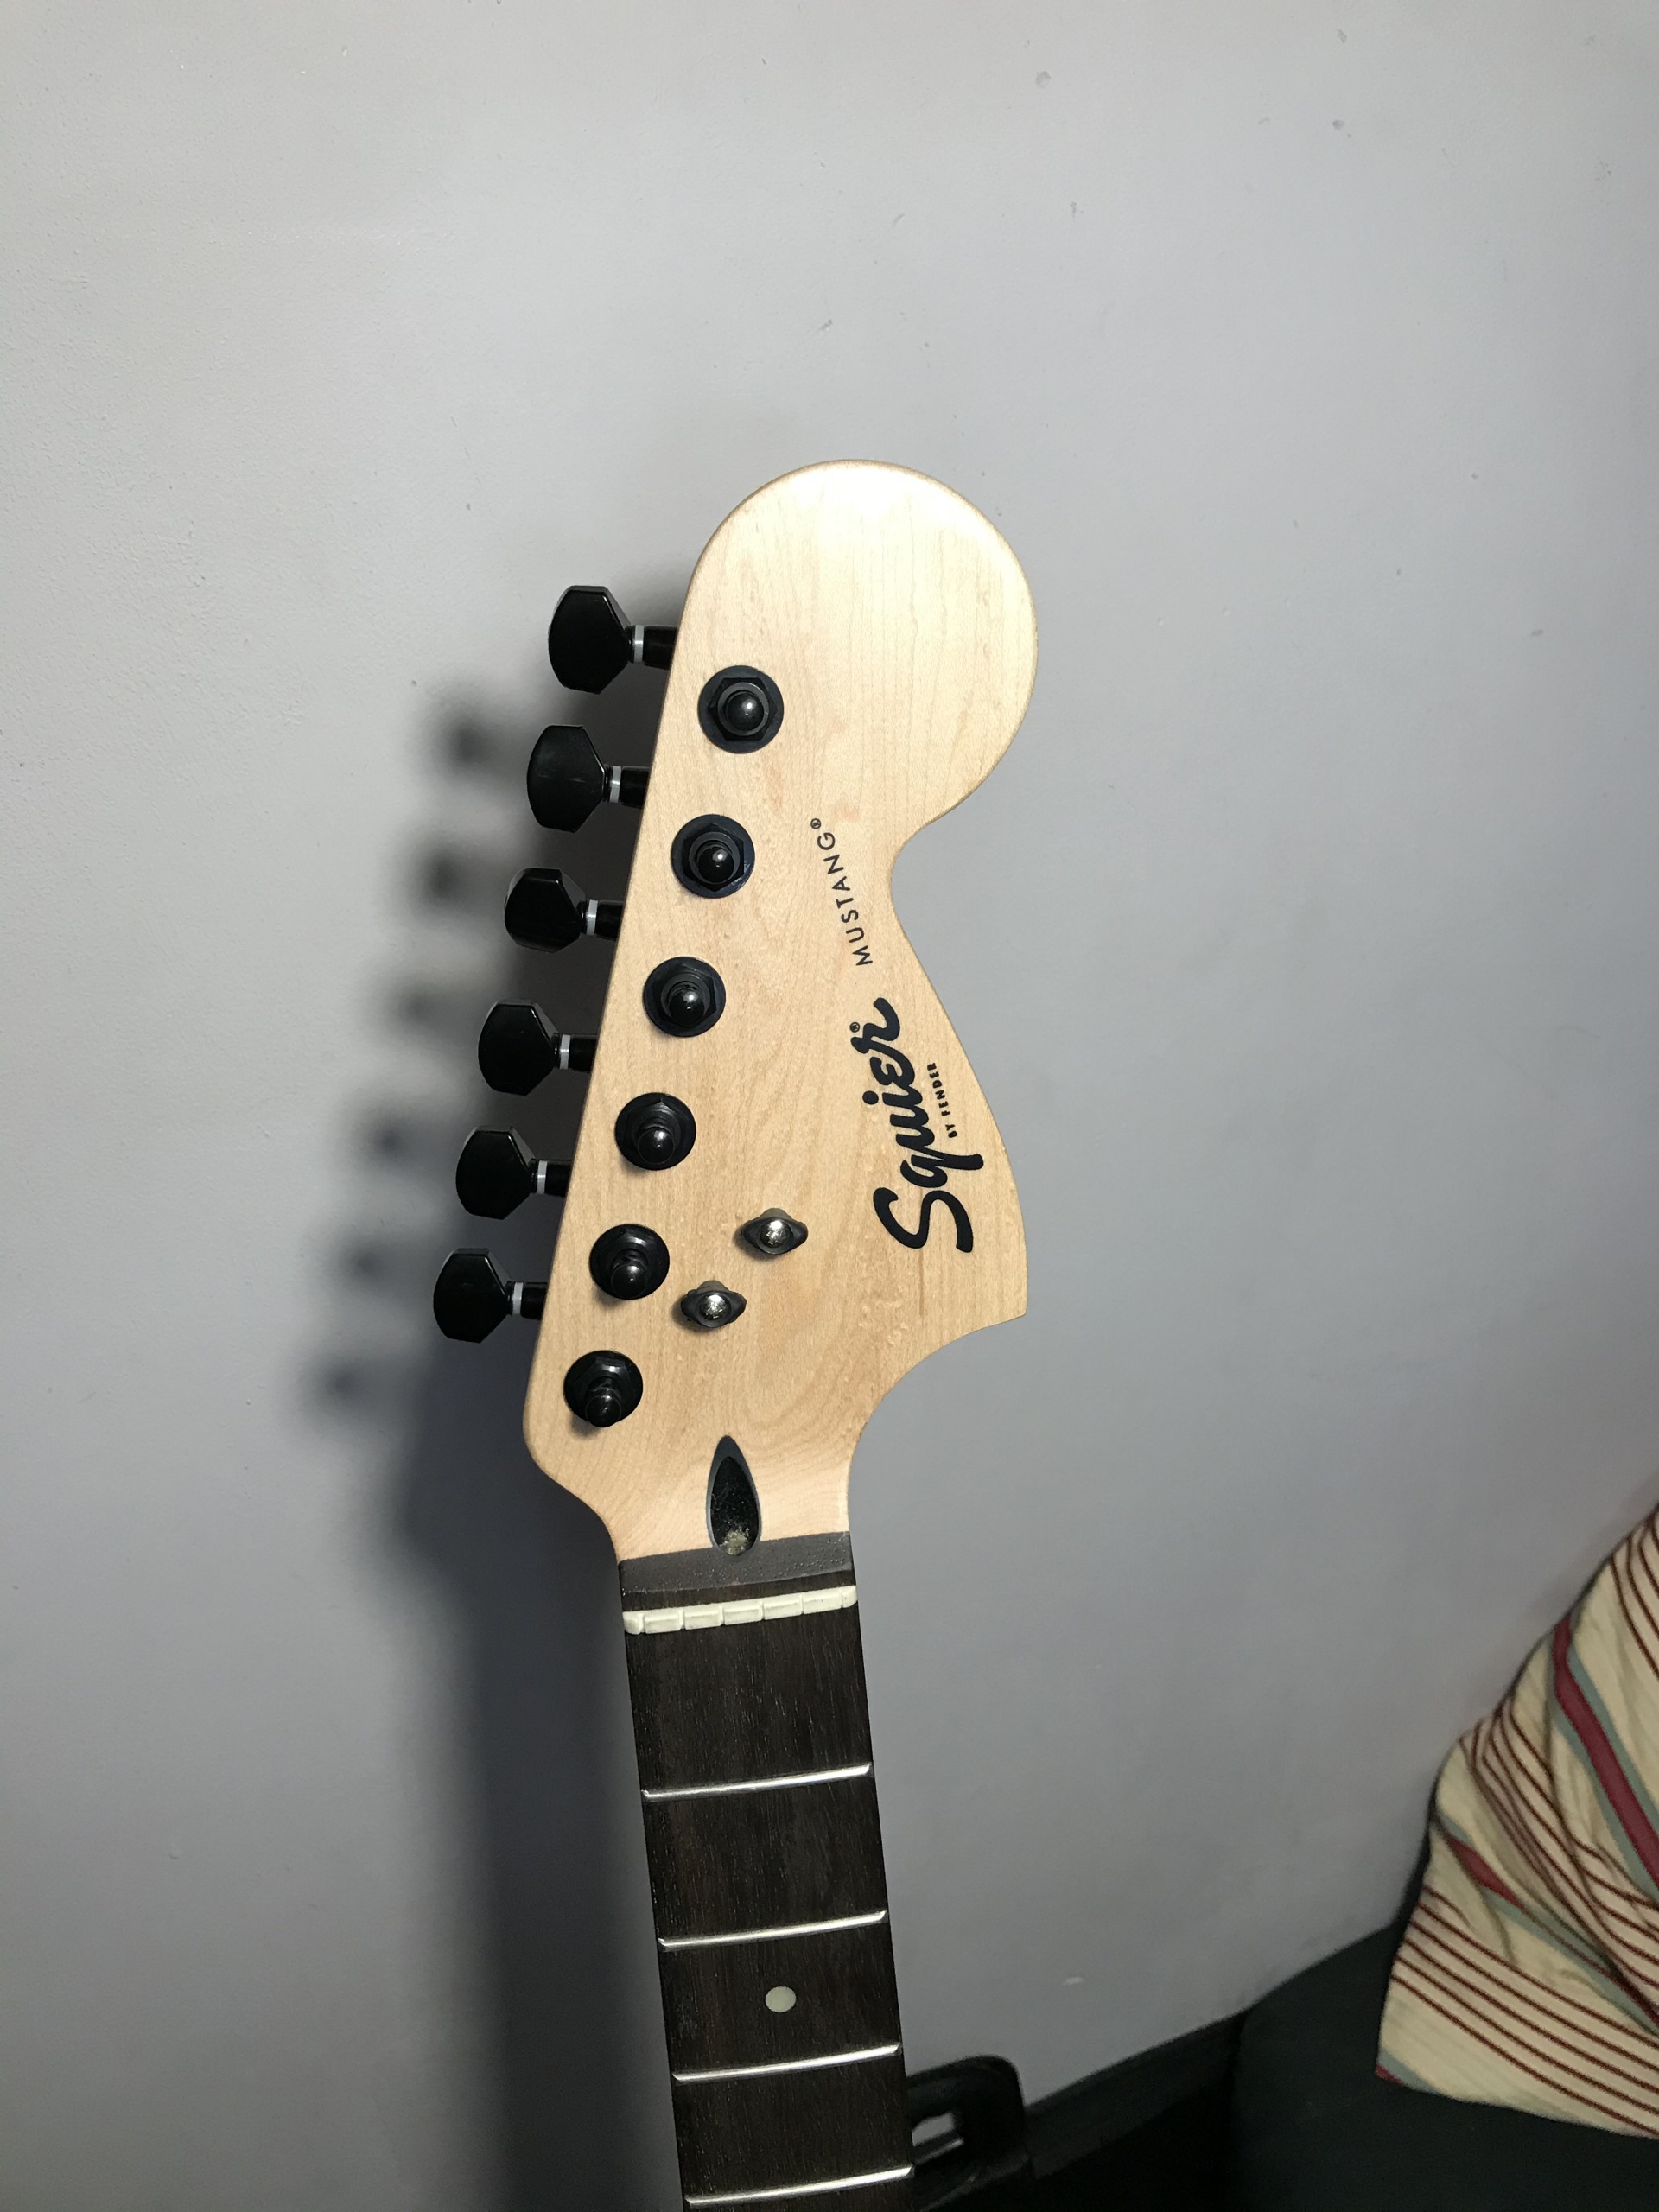
Squier Bullet Mustang – headstock before any mods
I had lots of fun playing this guitar, it sounded dark and warm, with a lot of bite and I had lots of fun with it. Quickly I realised though that it had some problems because it was so cheap. The pots were crackly, the saddles rattled, the switch occasionally didn’t work and the guitar couldn’t really be intonated properly, because the screws on some of the saddles were simply too long. So, I decided to replace all the cheap hardware and mod it a little in the process.
I took off the strings, removed the neck, unscrewed the hardware and then started my very first guitar mod by sanding and oiling the neck with true oil. It was very little work and already made the guitar feel so much smoother. After the true oil I also applied some wax, because I had read somewhere that without the wax things could get sticky over time. Then I polished the frets and made sure that there are no sharp edges on any of them. All of this didn’t take very long and it was already a huge improvement.
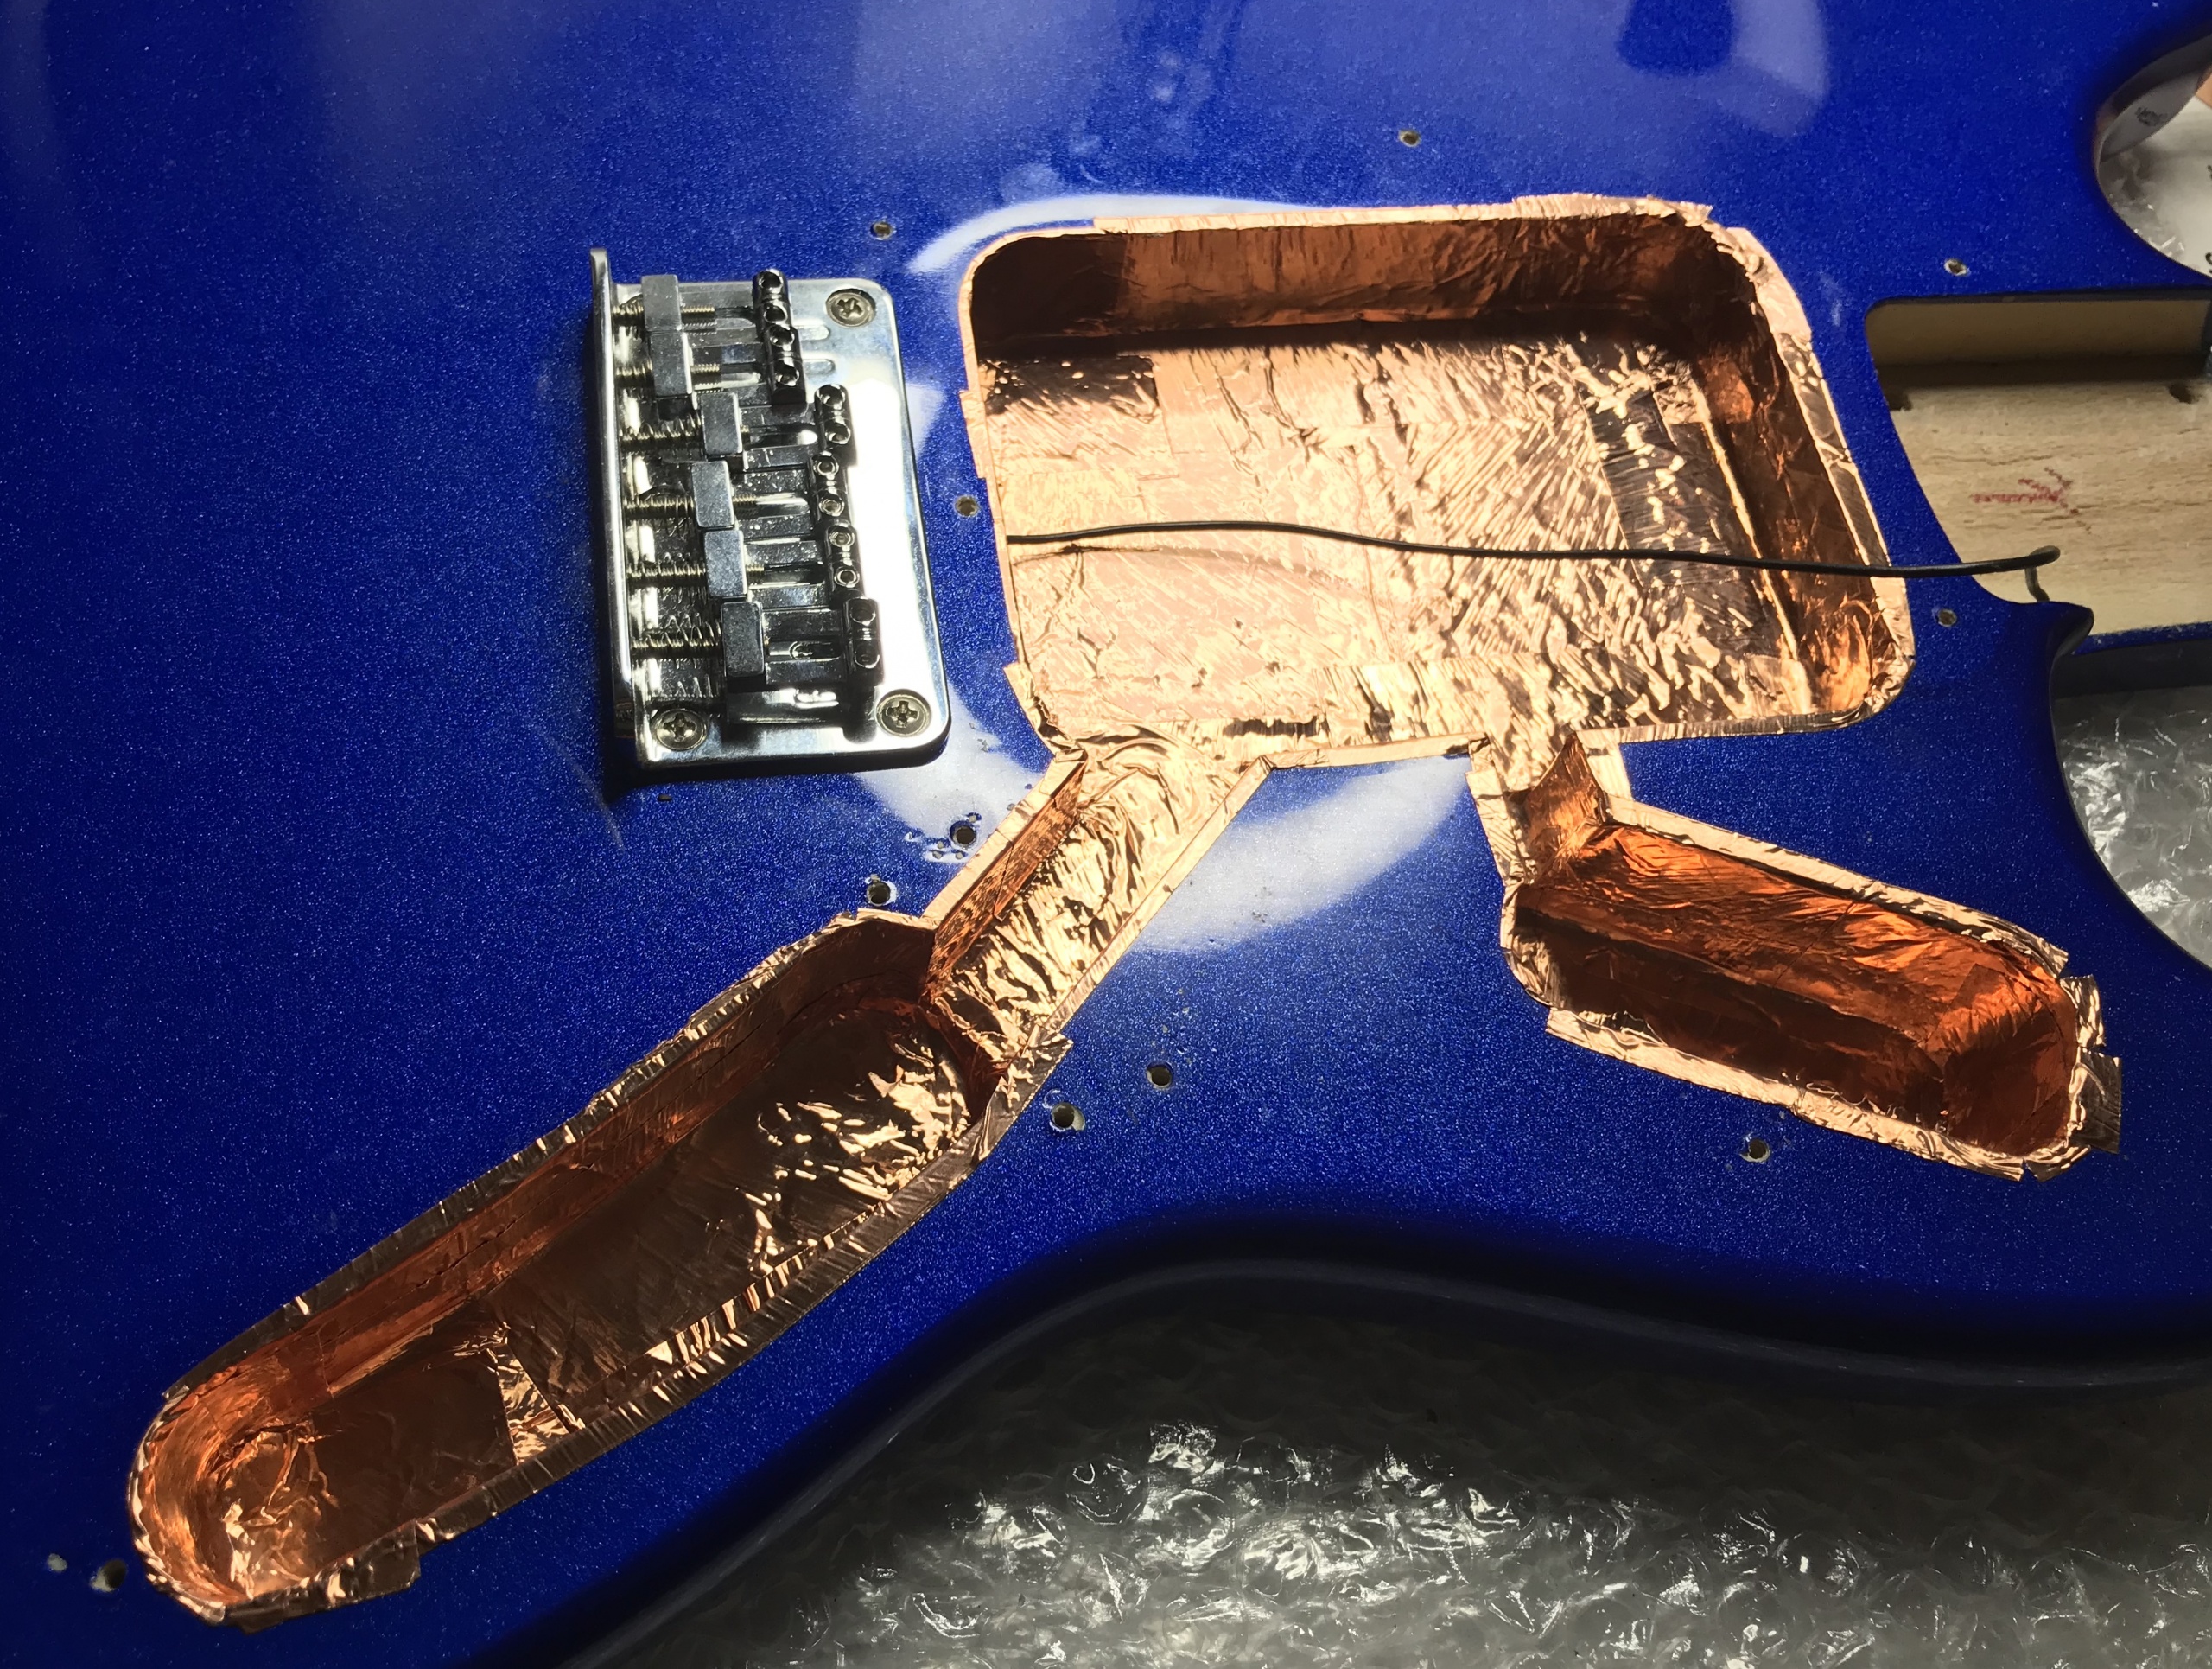
Squier Bullet Mustang – cavities shielded
Next came the body: Since I was already redoing the whole wiring anyway I decided to do a coil-split while I was in there. A first look at the humbuckers showed only two wires, but after unwrapping them I found 4 wires that would allow for a coil split. There was lots of testing with a multimeter involved, I had to figure out which wires were connected to which coil, what the polarity of them was and so on. It was a bit of a headache, but in the end I figured it all out. I even found wiring diagrams for what I was trying to do, so my coil split was successful in the end. I wired it all with a couple of 250K short shaft CTS push pull pots and a new 0.033uF orange drop capacitor. 250K is a bit unusual for humbuckers, but that’s what was in there originally and I really liked that sound, so I decided to keep it like it was.
Of course with the humbucking qualities of the pickups out of the picture I had to improve on the rather insufficient shielding on the body too. There was only some not very conductive shielding paint and the pickguard had no shielding at all. Not very important for a guitar with humbuckers, but with my coil split, definitely necessary. I shielded the entire cavity with copper foil and also shielded the back of a new black pickguard. Of course I also cut myself in the process, no surprises there, so even my blood went into this guitar! In the end I also decided to use some pickup covers, because my efforts of wrapping the pickups after soldering new wires to them was a little less neat than the original factory job. It all looked rather shiny.

Squier Bullet Mustang – trying out the new pickguard
Once I had all the parts prepared and wired I tried to install them in the body and … failed! The push pull pots I used are very big and my soldering style usually involves separate grounding wires that would simply not fit in this slim body. In the end I had to do all the soldering again and in my second attempt I grounded everything via the shielding. After that it all finally fit into the body and I managed to close it up without breaking any connections.
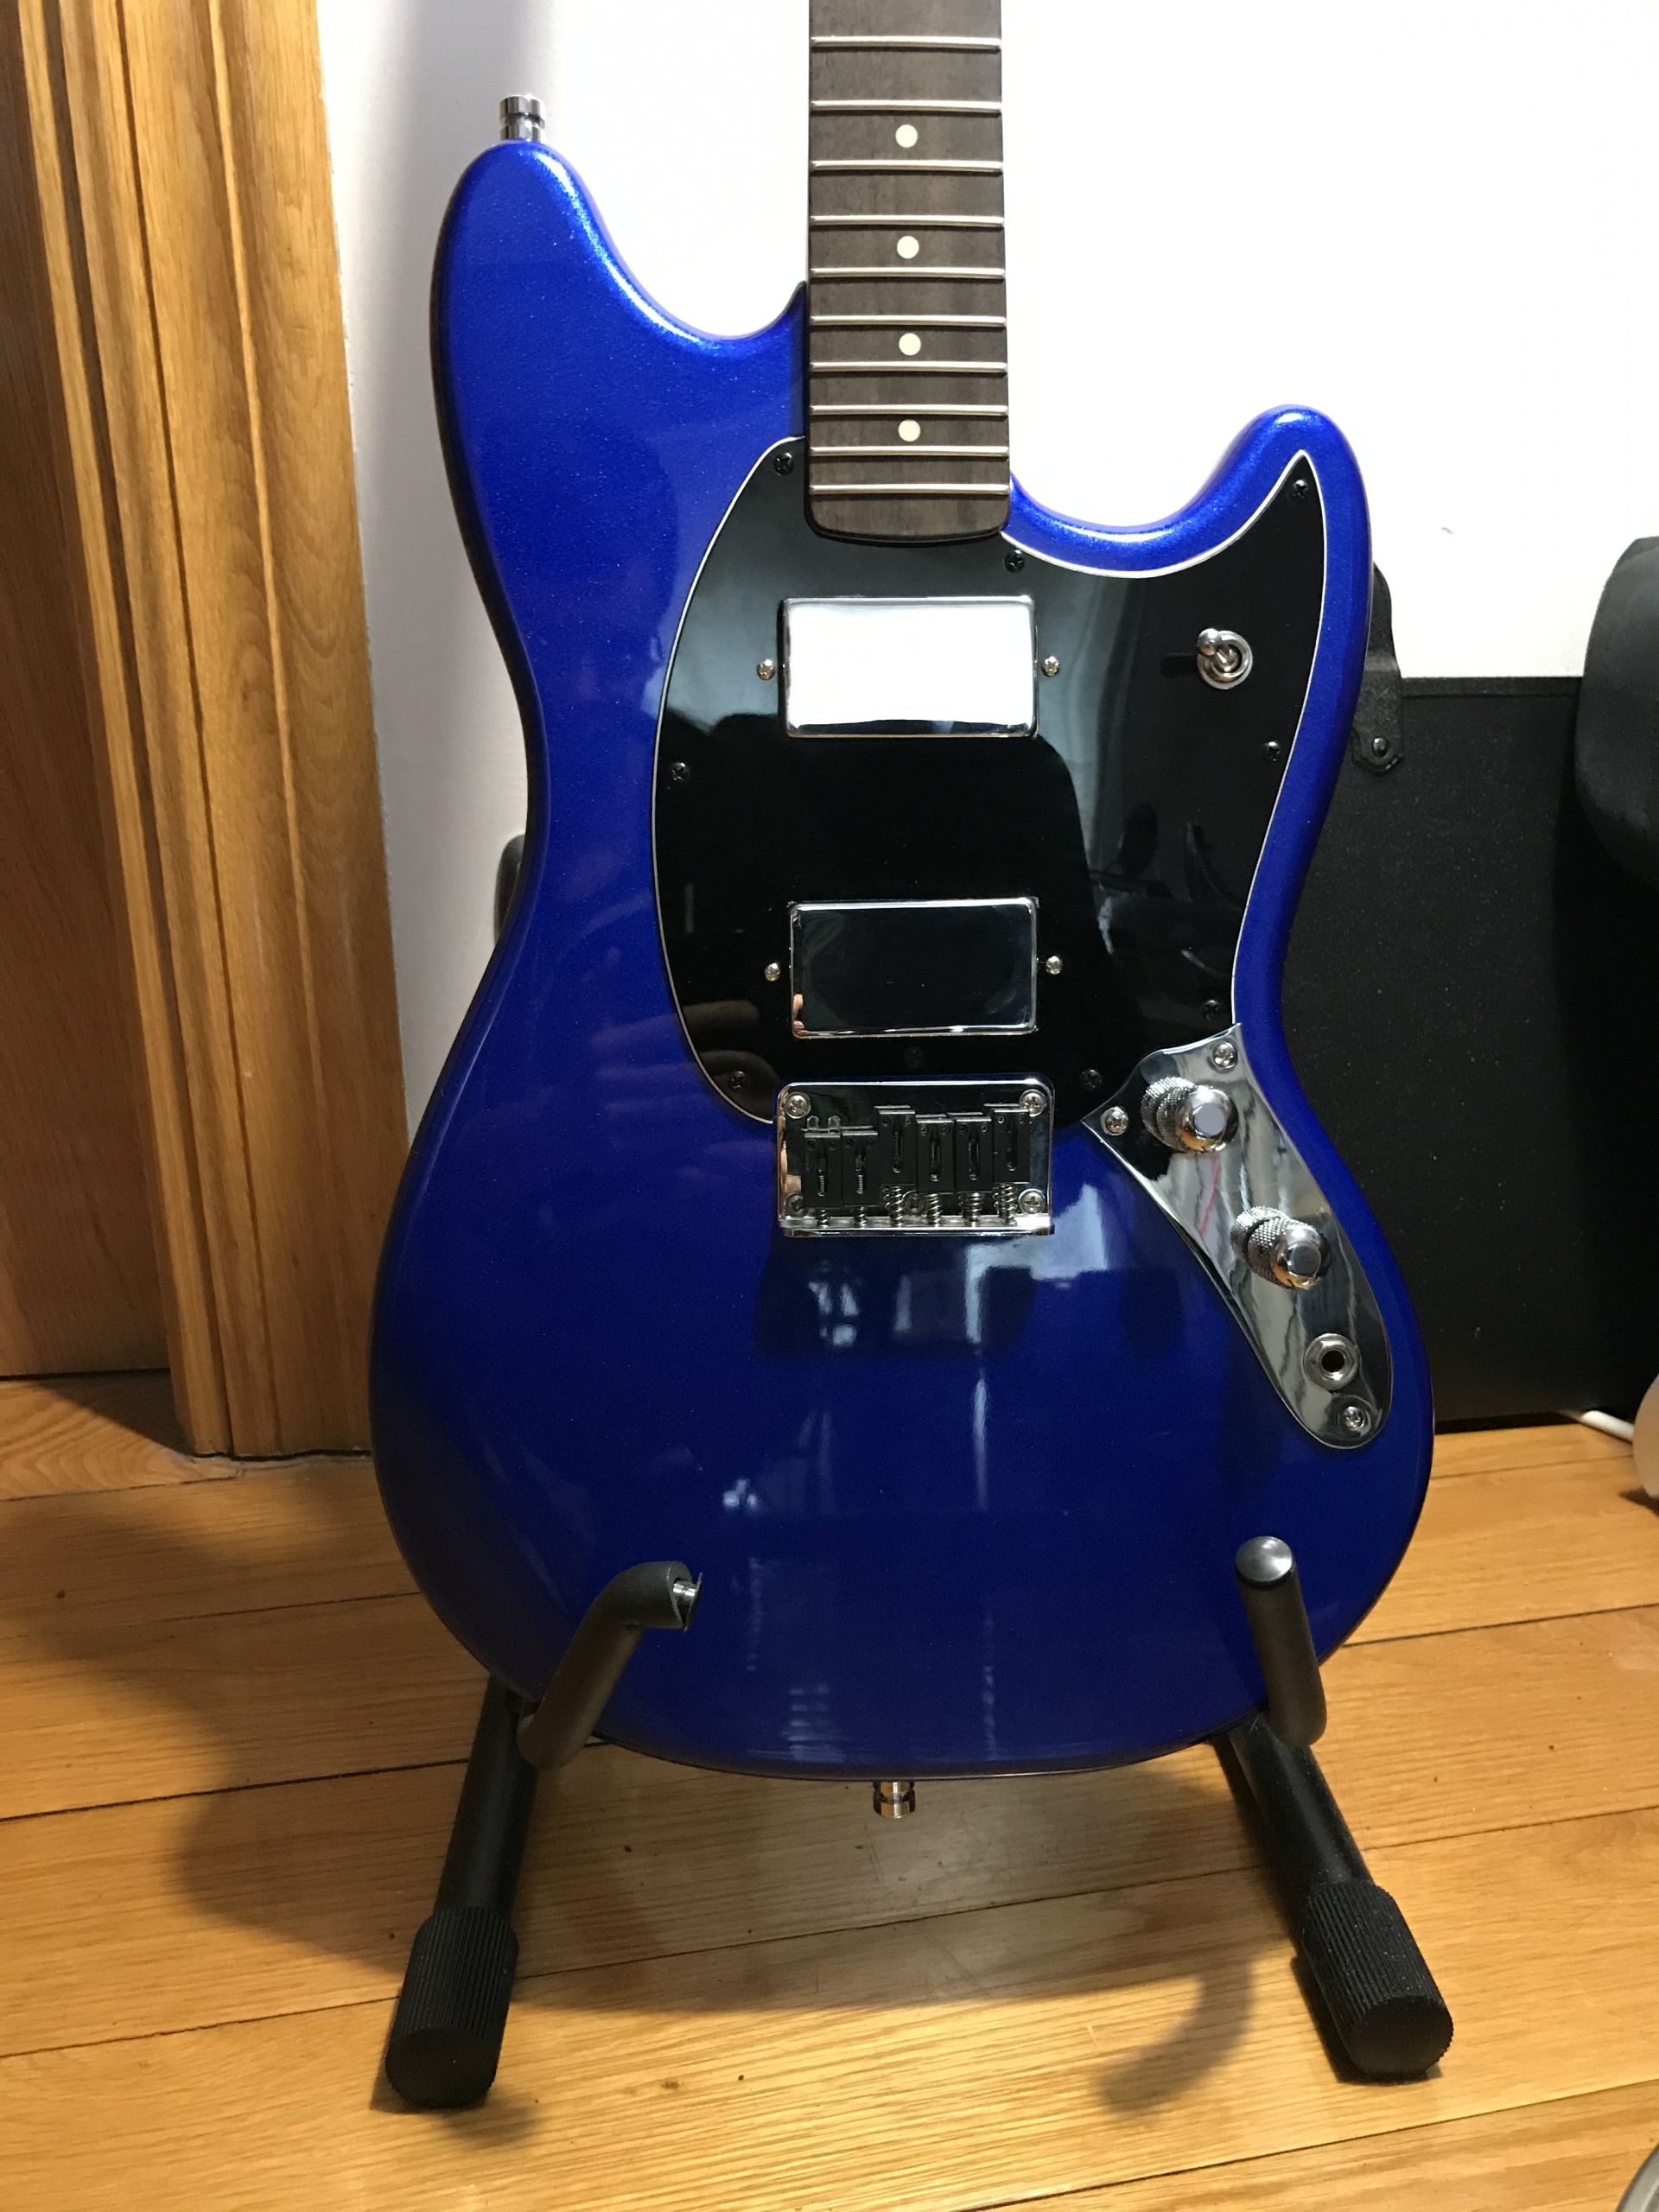
Squier Bullet Mustang – body with all the new hardware and wiring
Snazzy black pickguard, black string saver saddles combined with chrome pickup covers, knobs and switches! Doesn’t it look cool?
Squier Bullet Mustang – headstock with black locking tuners and graphtech string trees
I also put some black locking tuners on there and some graphtech string trees. I originally also wanted to change the nut, but I simply couldn’t get the old nut out there. They must have used a lot of glue! I will try again every time I change the strings, but I kinda doubt I’ll ever get it out of there, that’s how much glue they used!
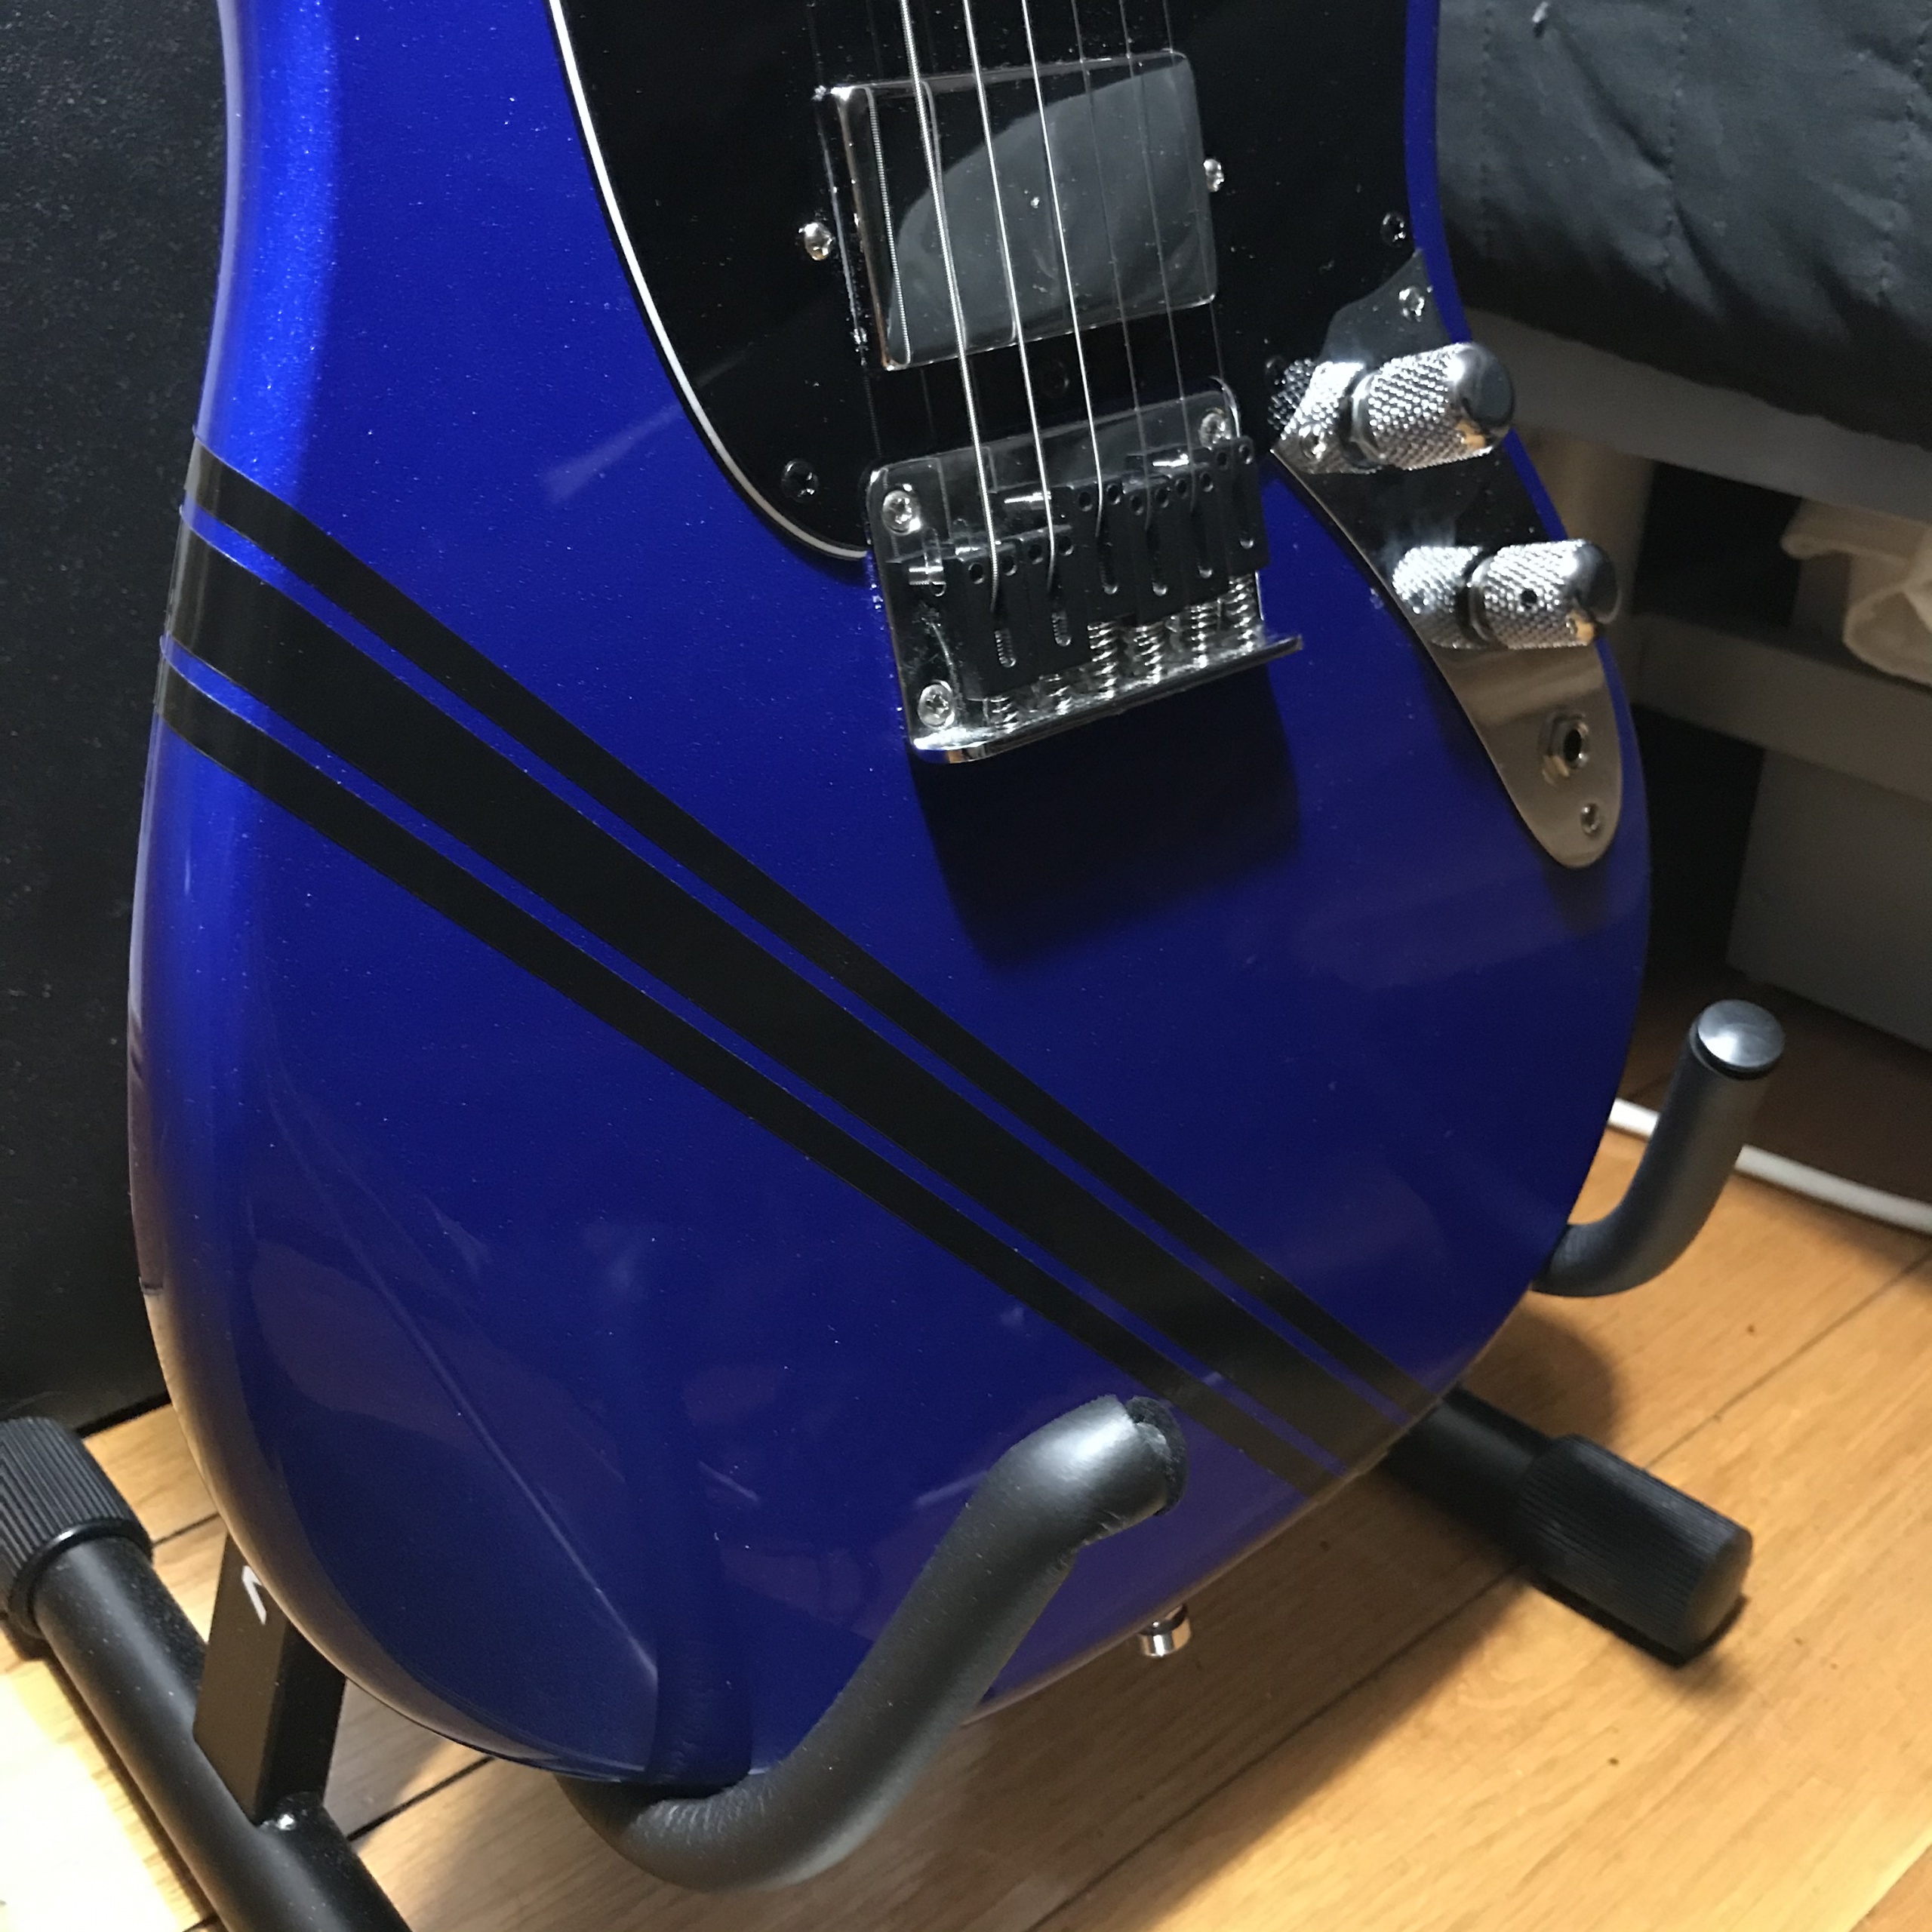
Squier Bullet Mustang – final touch: a racing stripe
I put some new strings on it and the final touch was a black racing stripe! After all, what’s more ambient than racing stripes, right?

Showing off my lovely Squier Bullet Mustang after the mods
After all this work I’m now super happy with the results! The neck feels super smooth and plays nicely. I set up the guitar properly, adjusted the pickup height to make them sound as best as possible in all the different configurations, as humbuckers, split and when combining the humbucker and single coil sound. Of course there are no real single coil sounds in there, since the split humbuckers simply aren’t hot enough for that, but I really like playing it clean with a combination of one humbucker and one single coil now. The pots and switches are smooth and reliable finally and the guitar is properly intonated with the new saddles. Putting on the new strings was also a breeze with the locking tuners!
The only problem left is that I essentially forgot to ground the pickup covers, but that’s not really a big deal and if I don’t touch the pickup covers it’s not a problem at all. It’s also not audible when I plug into my audio interface and only shows up when I’m playing through a little headphone amp that I use for practicing. I’ll sort it out next time I change the strings, and until then I can just use it to train myself not to touch the pickups so much.
All in all I’m very happy with the outcome of my very first guitar mod. It didn’t go entirely as planned, but I didn’t destroy anything and it now sounds and plays very nicely. It’s a really great guitar now and I’m very happy with it. And since modding it was so much fun, I actually just got a second one of these Mustangs to put some P90 pickups in there! Modding that new Mustang will be a lot of fun too and I can experiment with series and parallel wiring this time!
Parts and Material used
- Squier Bullet Mustang Imperial Blue – (US) https://amzn.to/2ZYOI4Z (EU) Thomann
- Birchwood Casey True Oil Finish – (US) https://amzn.to/31ww3xj (EU) Best source is probably Ebay
- Birchwood Casey Gun Stock Wax – (US) https://amzn.to/3a81rGa (EU) Best source is probably Ebay
- Locking Tuners Black, I used Vanson Tuners from the UK but Wilkinson and Harley Benton should work too – (US) https://amzn.to/30FFDyU (EU) Thomann
- Copper Foil – (US) https://amzn.to/30BAs2O (EU) Thomann
- Saddles: Graphtech Graph Tech PS-8000-00 – (US) https://amzn.to/33EHeqp (EU) Thomann
- String trees: Graphtech Black TUSQ – (US) https://amzn.to/33CVPTi (EU) Thomann
- 2x CTS Push Pull pots, Short shaft, 250K like the original. Go for 500K if you find the PUs too muddy – (US) https://amzn.to/2XITpPb (EU) Thomann
- 2x Telecaster Chrome knobs – (US) https://amzn.to/3coreeI (EU) Thomann
- Switchcraft Short-Frame Toggle Switch – (US) https://amzn.to/3iOnR2j (EU) Thomann
- Pickup covers – (US) https://amzn.to/3fGcvMb (EU) Thomann
- Tone Cap: Sprague Orange Drop 0.033uf – (US) https://amzn.to/3gFxrEn (EU) Best source for 0.033uf is probably Ebay, but you can get 0.022uf from Thomann
- Nut – if I could have changed it: Graph Tech Black TUSQ XL PT-5042-00 (US) https://amzn.to/2XIdjKe (EU) Thomann
- Pick guard: Black 3ply
All parts collected together at Thomann.
Many of these links are affiliate links so you can support what I do at no extra cost to you.
Modding Resources
- How to identify Wiring on Mystery Humbuckers
- Testing Polarity of Guitar Pickups with a Multimeter
- Identifying Pickup Wires & Polarities – Humbucker
- How to Coil Split Humbuckers
- How to make a 2 wire humbucker into a 4 wire humbucker
- Splitting a Humbucker and the sound in your head
- Wiring diagrams
If you want to hear some of the music that I created with this guitar, then you can check out my latest Polarcoaster track Magnetic River: